13 DIY Bathroom Mirror Frame Ideas for a Finished Look
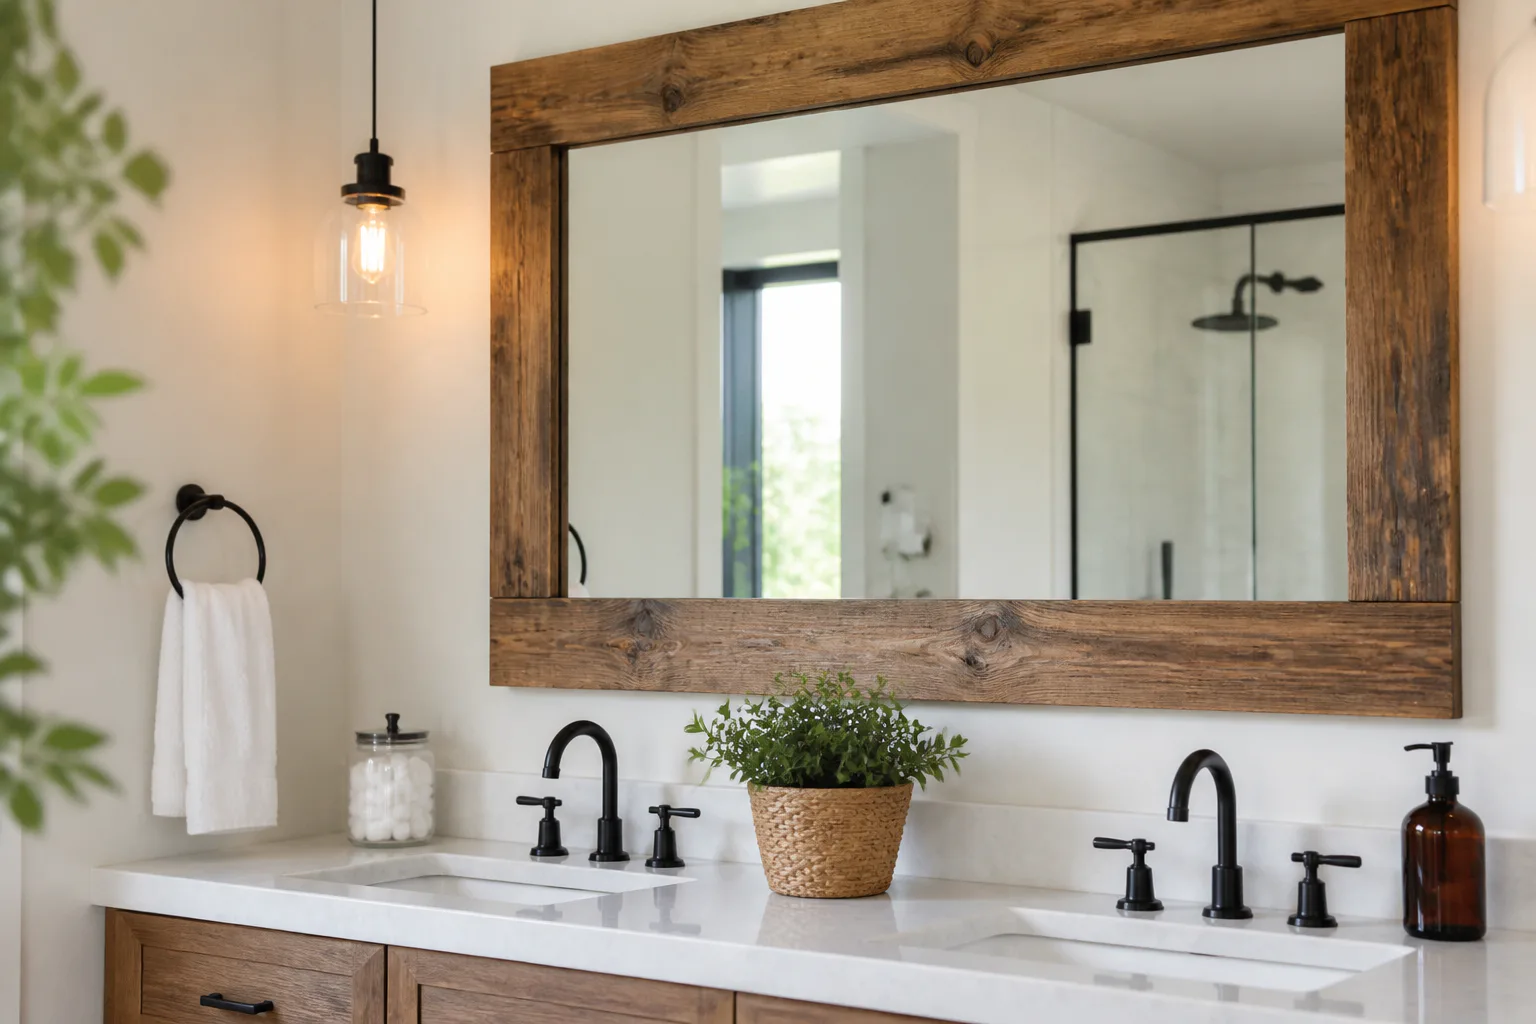
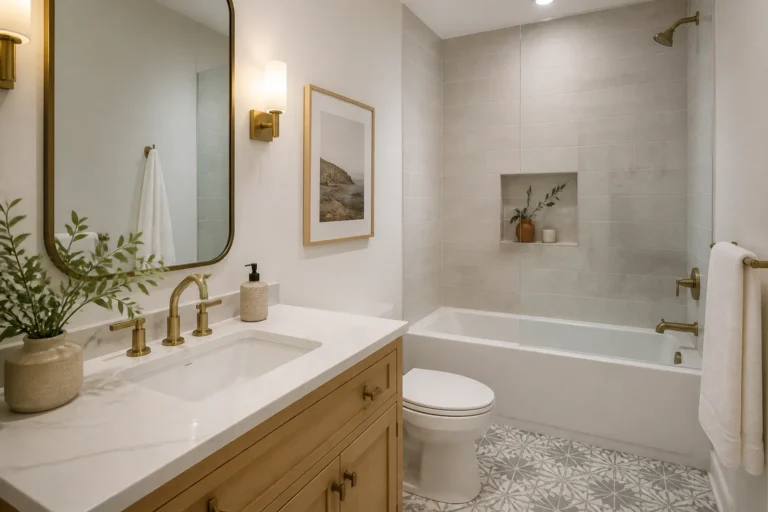
A framed mirror can make a plain bathroom look finished without replacing the glass. The best DIY bathroom mirror frame ideas use simple materials, fit around builder-grade mirrors, and work with humidity if you choose the right glue, finish, and spacing. Below are 13 practical options, from quick stick-on upgrades to full custom wood builds.
Before you start
Measure the mirror height, width, and the gap between the mirror edge and any light fixture, faucet, backsplash, or wall. That clearance decides whether you can add a thick wood frame or need a slimmer trim profile.
Bathrooms stay humid, so use materials and finishes that handle moisture well. Seal raw wood on all sides, let paint or stain cure fully, and avoid blocking mirror clips unless your design accounts for them.
Quick comparison
Idea | Skill level | Look | Best for |
|---|---|---|---|
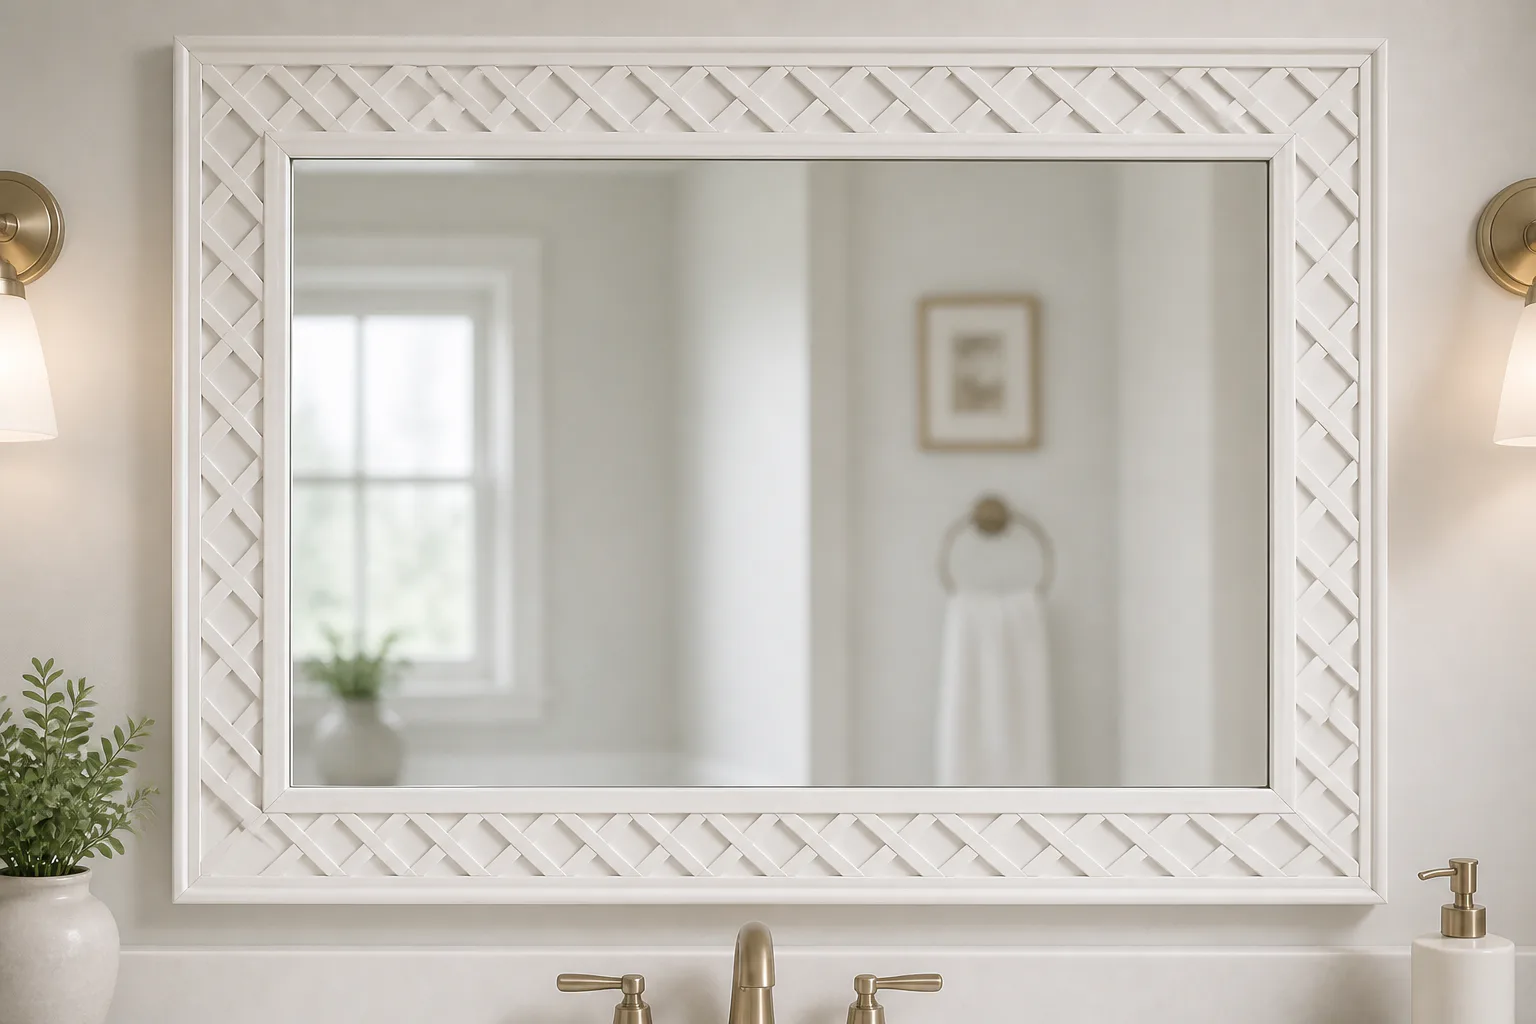
Painted lattice frame | Beginner | Clean and classic | Fast budget update |
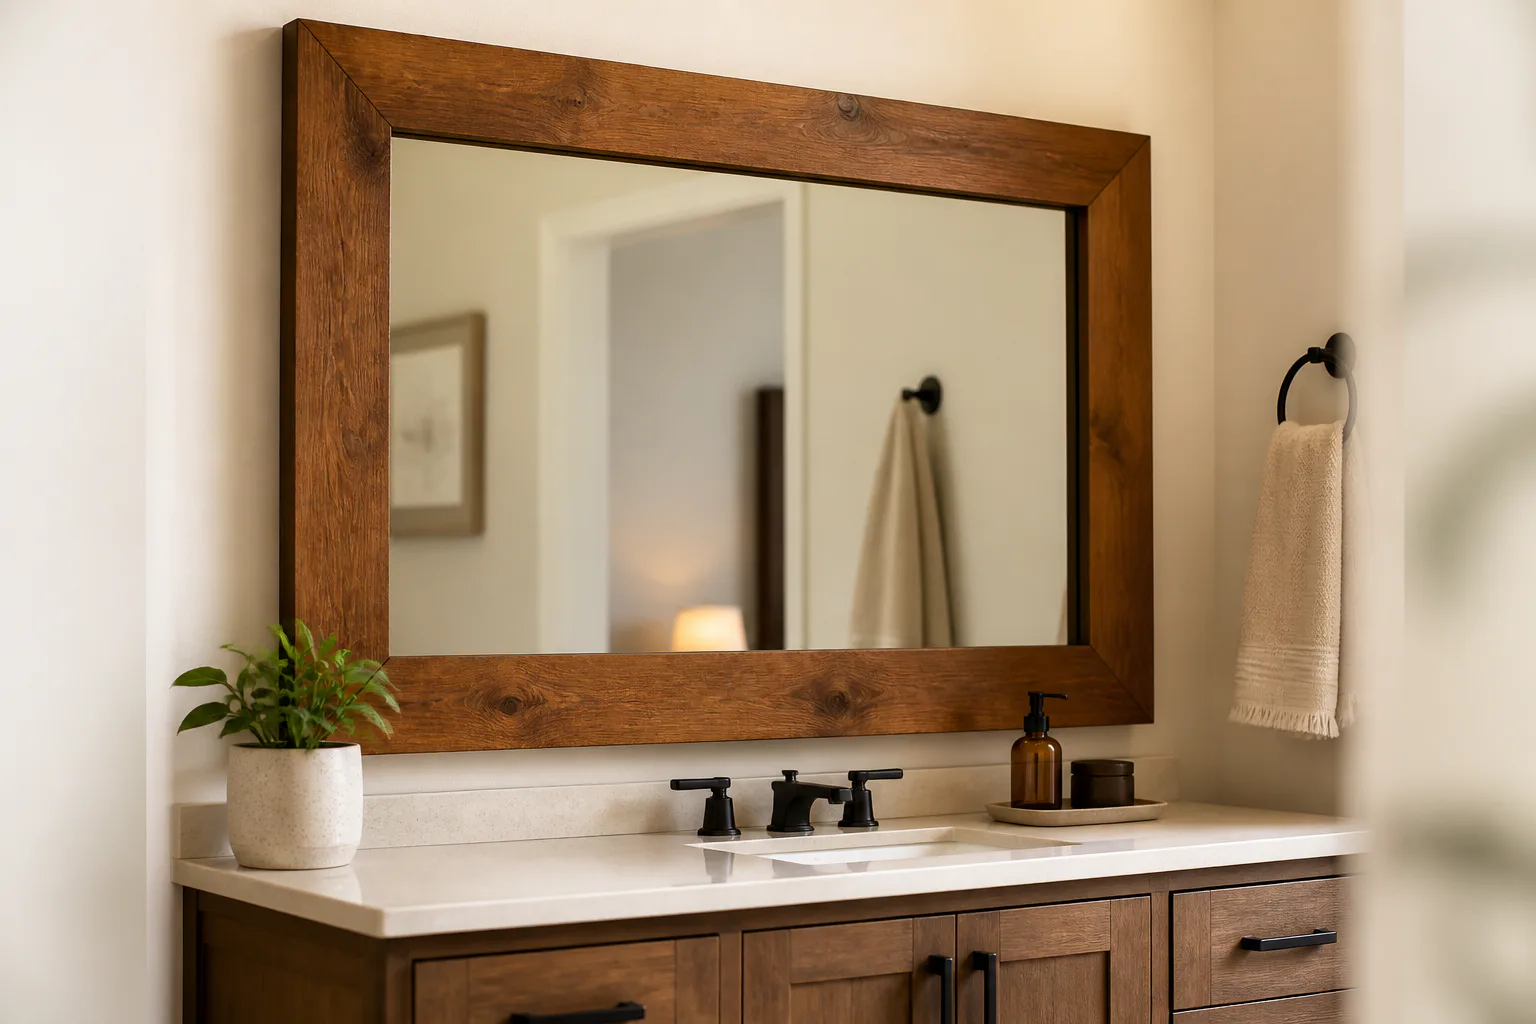
Stained pine frame | Beginner | Warm wood | Farmhouse or rustic baths |
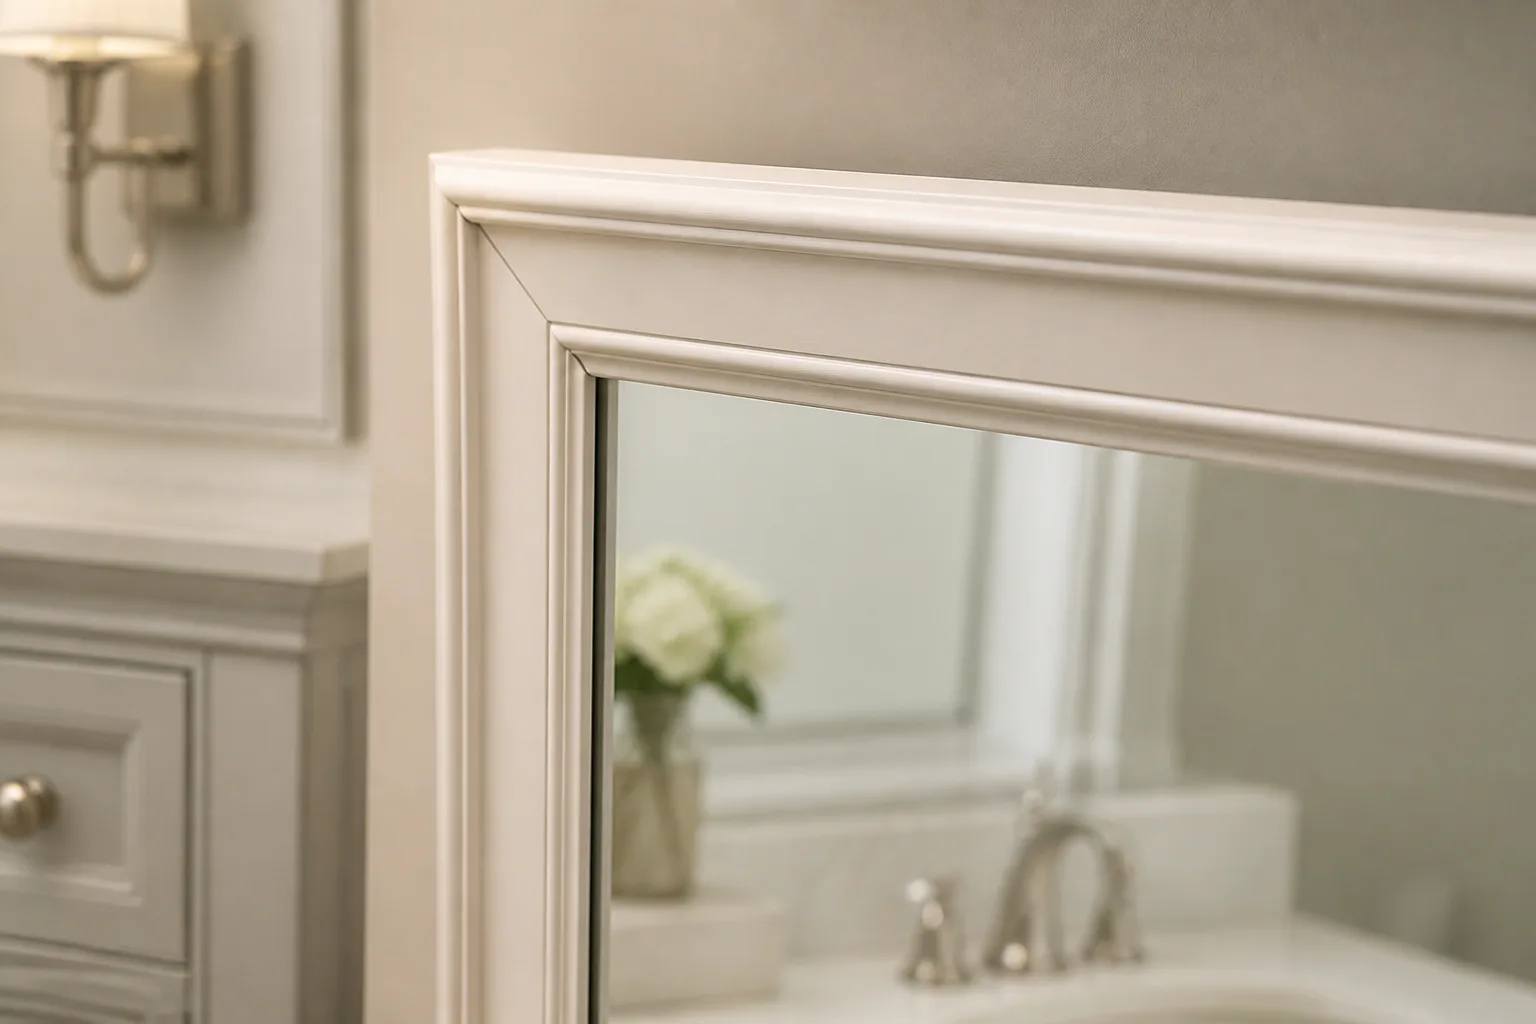
Mitered trim frame | Intermediate | Built-in | Polished traditional style |
Shiplap surround | Intermediate | Cottage | Wide wall mirrors |
Peel-and-stick molding | Beginner | Decorative | Renters or low-tool projects |
Reclaimed wood frame | Intermediate | Textured and aged | Character-heavy spaces |
Black modern frame | Beginner | Sharp and minimal | Contemporary bathrooms |
White coastal frame | Beginner | Bright and airy | Small bathrooms |
Rope-edge frame | Beginner | Beach-inspired | Accent mirrors |
Tile border frame | Intermediate | Custom detail | Bathrooms with tile accents |
Layered trim frame | Intermediate | High-end detail | Traditional vanities |
Live-edge wood frame | Advanced | Organic statement | Spa-style design |
Medicine cabinet facelift | Beginner | Custom front | Updating a mirrored cabinet |
13 frame ideas
1. Painted lattice frame
Lattice trim is lightweight, easy to cut, and simple to glue around a flat mirror. Painted white, black, or soft gray, it gives a clean border without adding much bulk.
This is a good choice when the mirror sits close to a vanity light or side wall. Keep the trim thin, use mitered corners for a neater look, and caulk tiny gaps before painting.
2. Stained pine frame
Pine boards create a straightforward wood frame that adds warmth fast. A medium or dark stain helps a plain mirror feel more intentional and pairs well with black hardware or wood vanities.
Seal the boards on the front, back, and cut ends before installation. That extra step matters in a bathroom because unfinished edges absorb moisture first.
3. Mitered trim frame
Chair rail or base cap molding can give a builder-grade mirror a more finished, furniture-like edge. This style works especially well in traditional bathrooms where the vanity already has raised-panel details.
Dry-fit each side before gluing anything in place. If your corners are slightly off, sanding and filler can help, but accurate cuts save time and look cleaner.
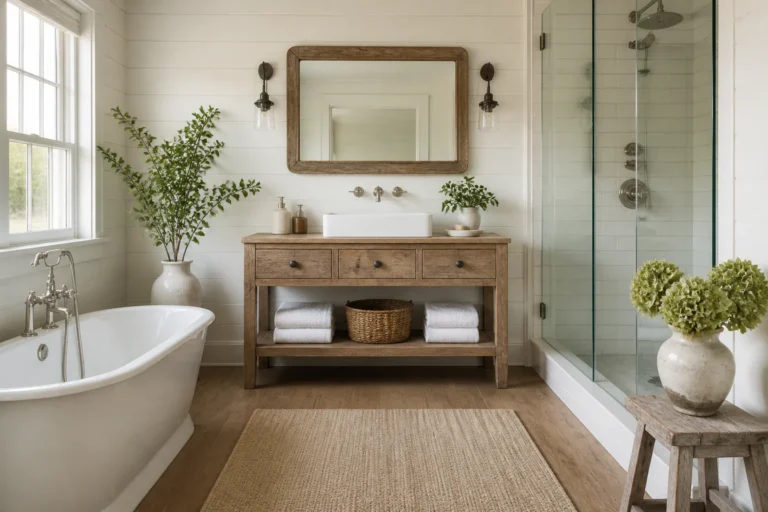
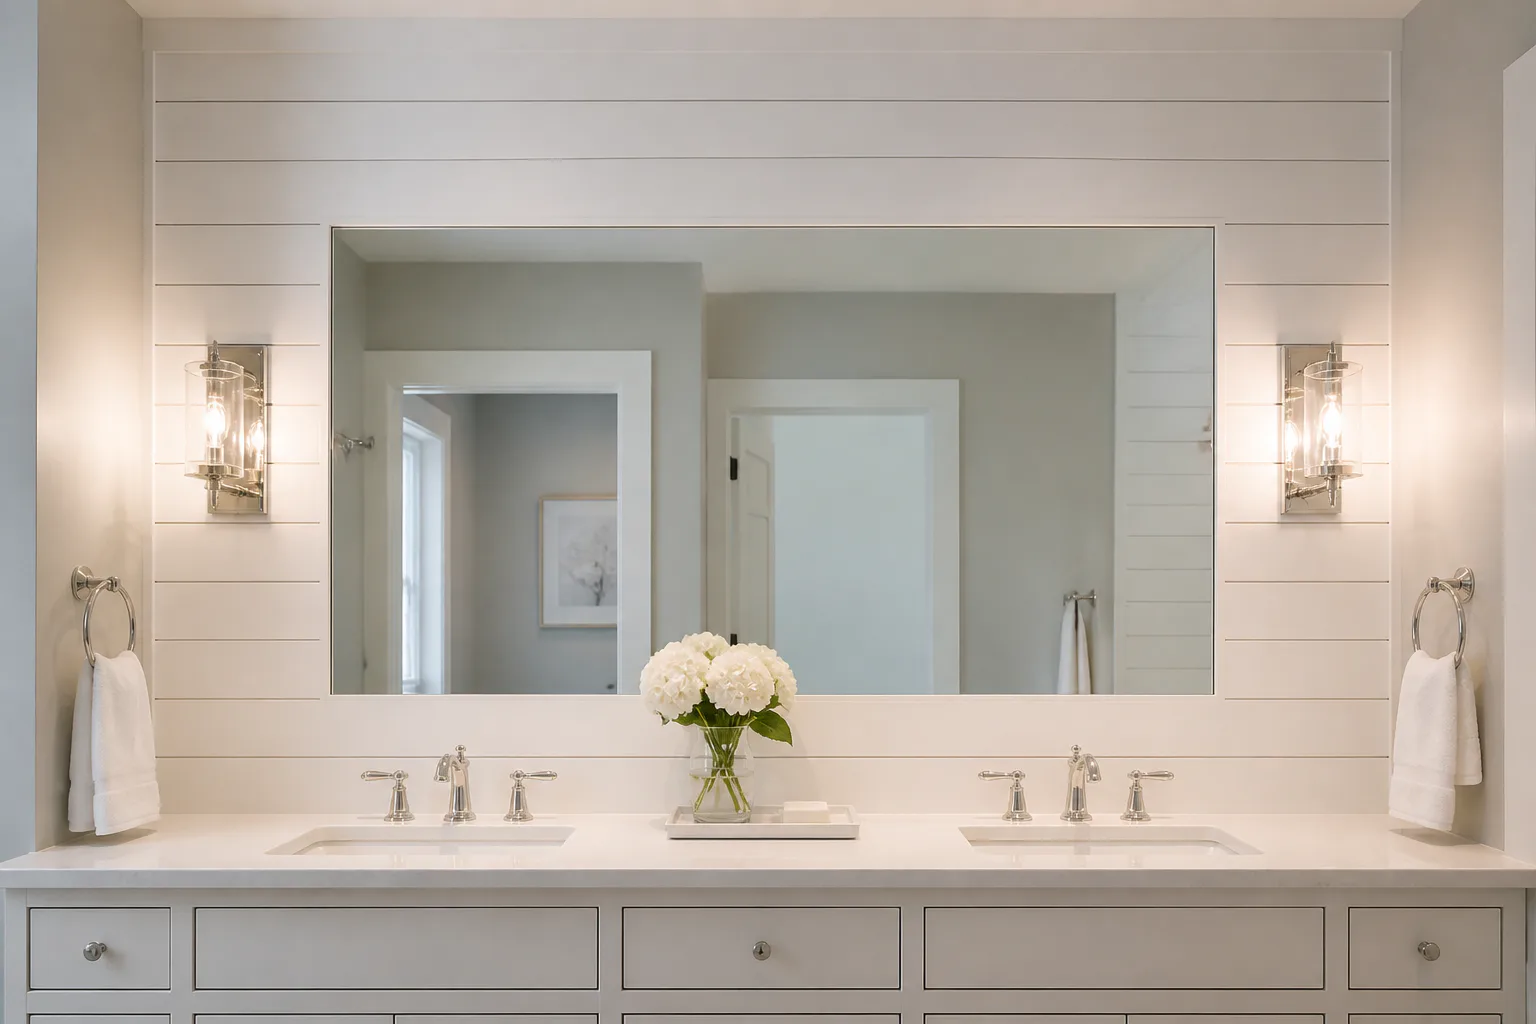
4. Shiplap surround
Shiplap boards can frame the mirror itself or build out the wall around it for a stronger design feature. This idea suits large sheet mirrors above double vanities where a thin frame would look undersized.
Use narrow boards in a small bathroom so the wall does not feel heavy. Paint the surface in a satin or semi-gloss finish to make cleaning easier.
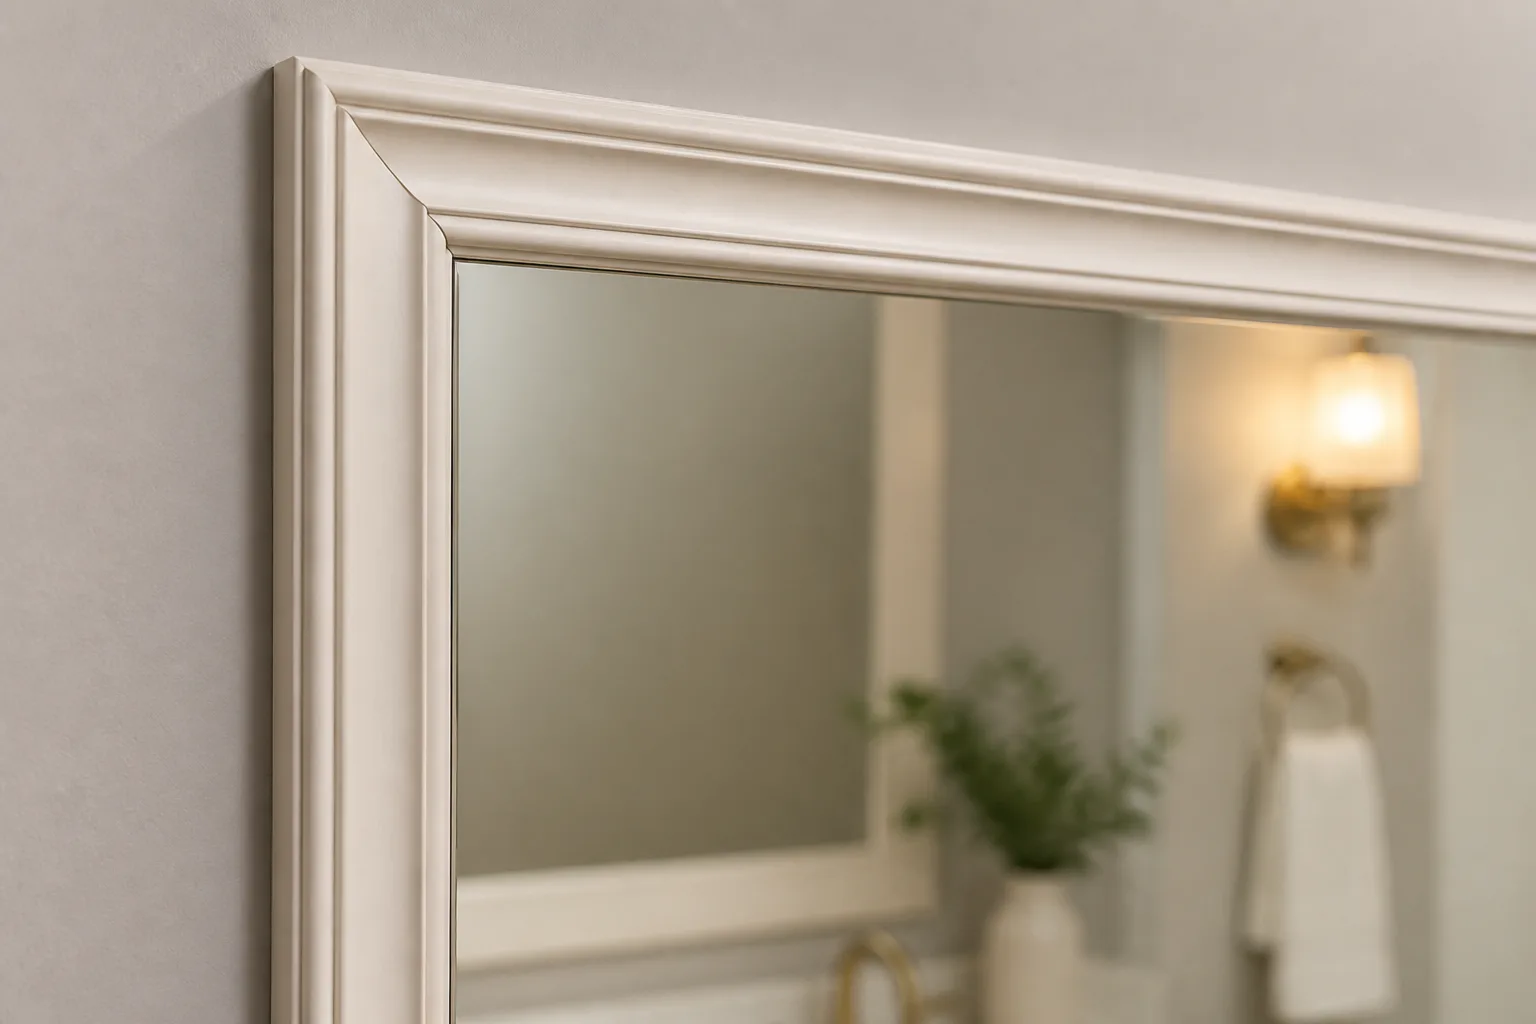
5. Peel-and-stick molding
Peel-and-stick trim is the lowest-tool option on this list. It works best for a cosmetic update where you want visible definition without saws, nail holes, or a full woodworking setup.
Clean the mirror edge and wall surface thoroughly before applying adhesive products. Press evenly, check alignment often, and avoid using this method on dusty, damp, or flaking surfaces.
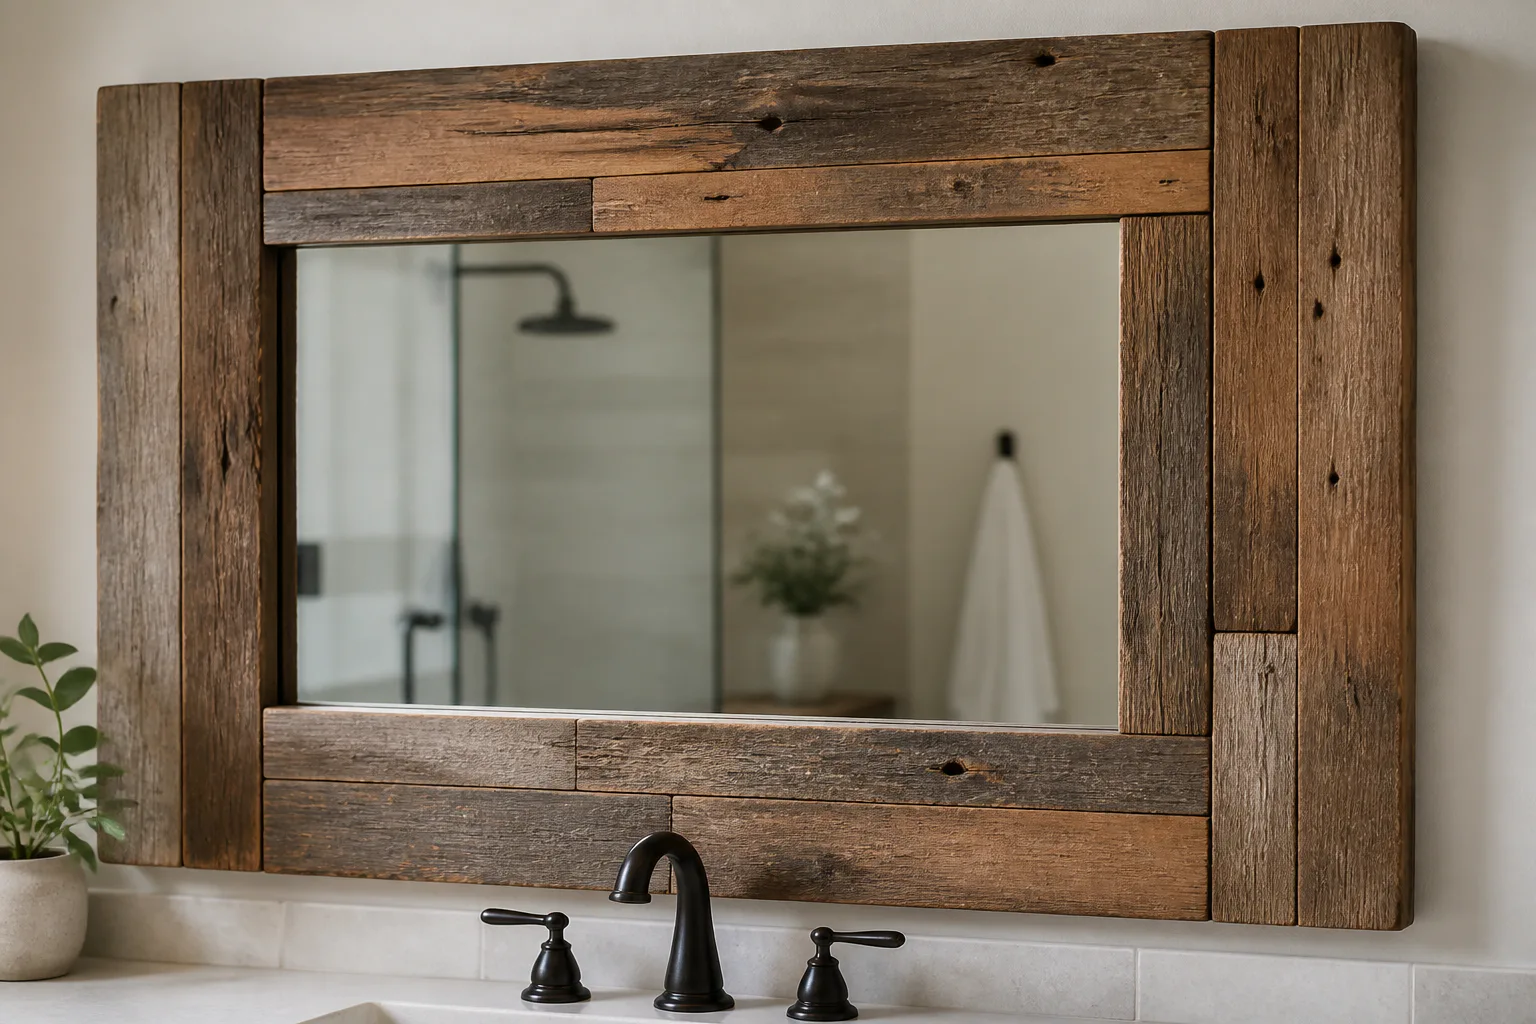
6. Reclaimed wood frame
Reclaimed wood adds texture, variation, and a casual handmade look. It can soften a bathroom with lots of hard surfaces like tile, stone, and metal.
Choose boards that are dry, stable, and splinter-free. Sand enough to make them safe and easy to wipe down, but leave some grain and wear if you want the aged character to show.
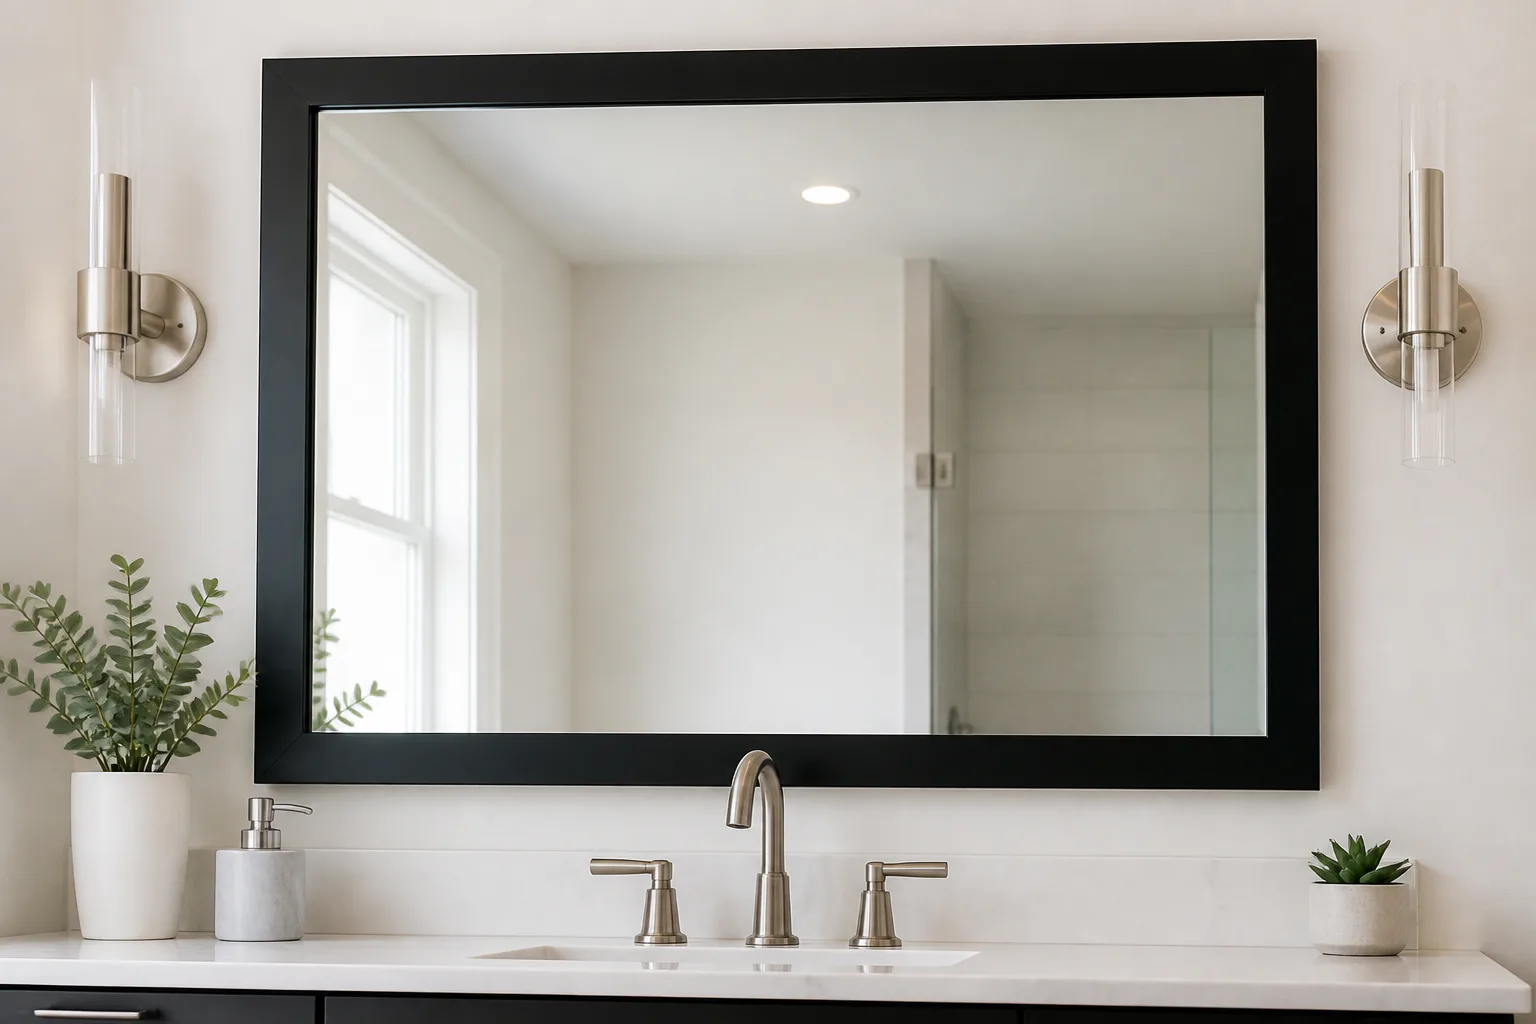
7. Black modern frame
Poplar trim or simple flat stock painted matte or satin black creates a sharp, modern frame. The strong outline works well with white walls, brushed nickel, chrome, or black fixtures.
Use a flat profile instead of ornate molding to keep the look current. This is one of the best options if you want a DIY result that feels custom but not overly decorative.
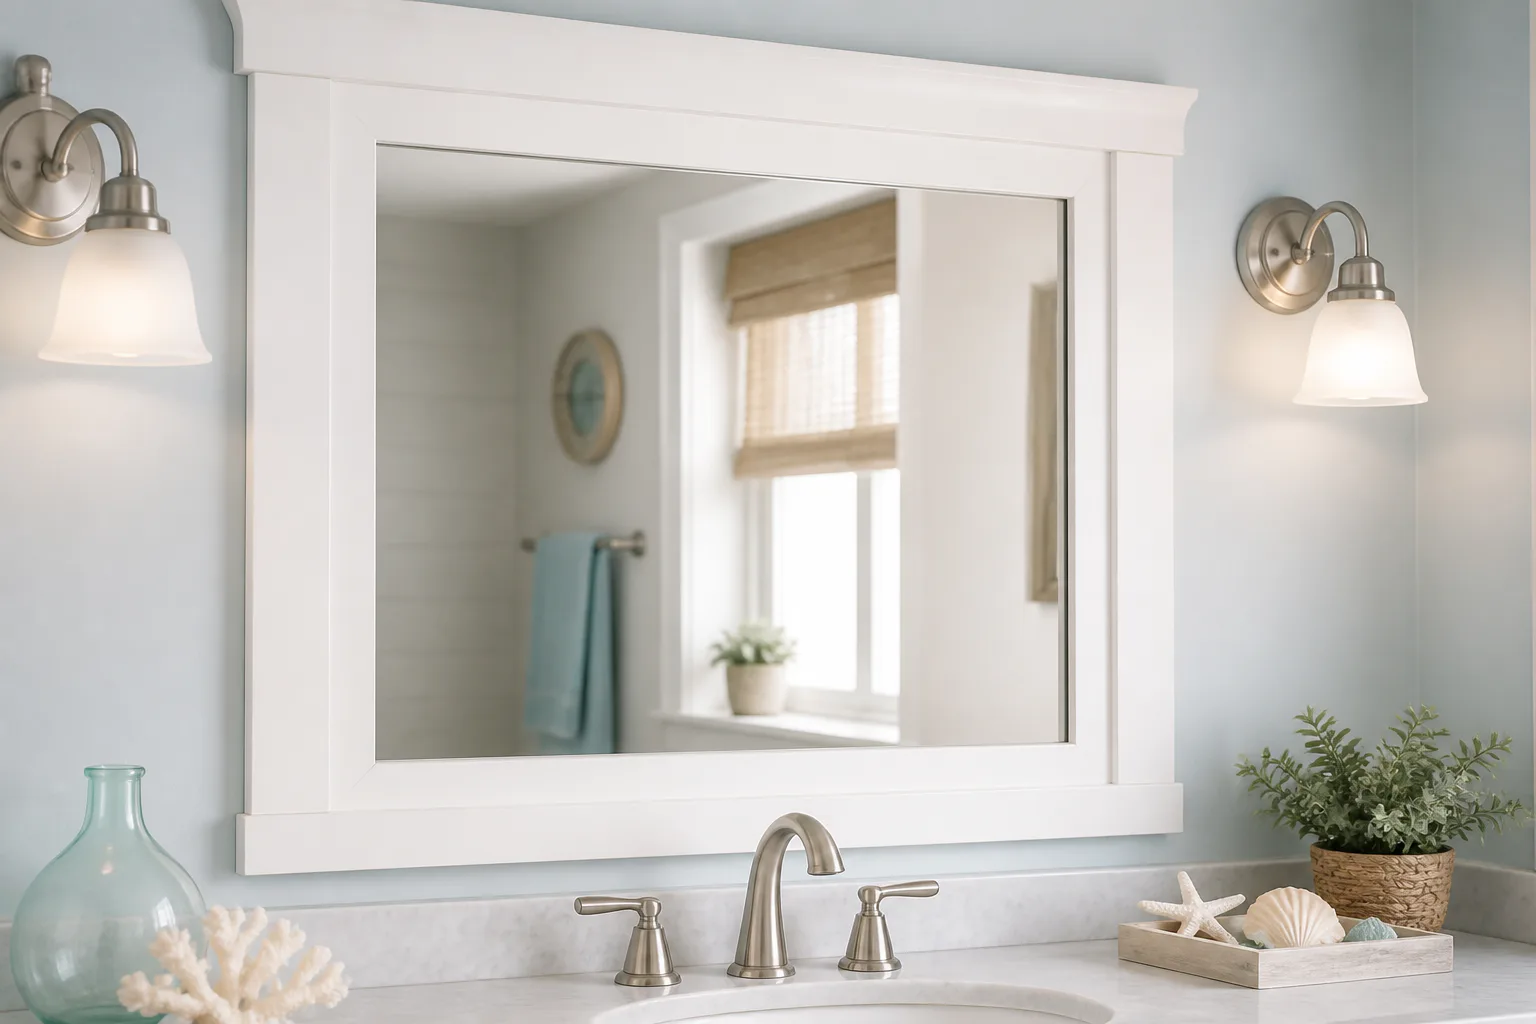
8. White coastal frame
MDF trim or smooth primed boards painted crisp white can brighten a bathroom that gets limited natural light. The look is fresh, simple, and easy to pair with pale blues, sandy neutrals, and light wood.
If you use MDF, seal every exposed cut edge well. It paints smoothly, but it does not tolerate moisture as well as solid wood when left unsealed.
9. Rope-edge frame
Natural rope wrapped or applied along a simple frame gives an easy coastal accent. It works better on smaller mirrors or powder rooms where the decorative texture can stand out without overwhelming the space.
Keep rope details away from constant splash zones. A rope edge collects dust more than smooth trim, so it looks best where maintenance is easy and the style is part of the room’s main theme.

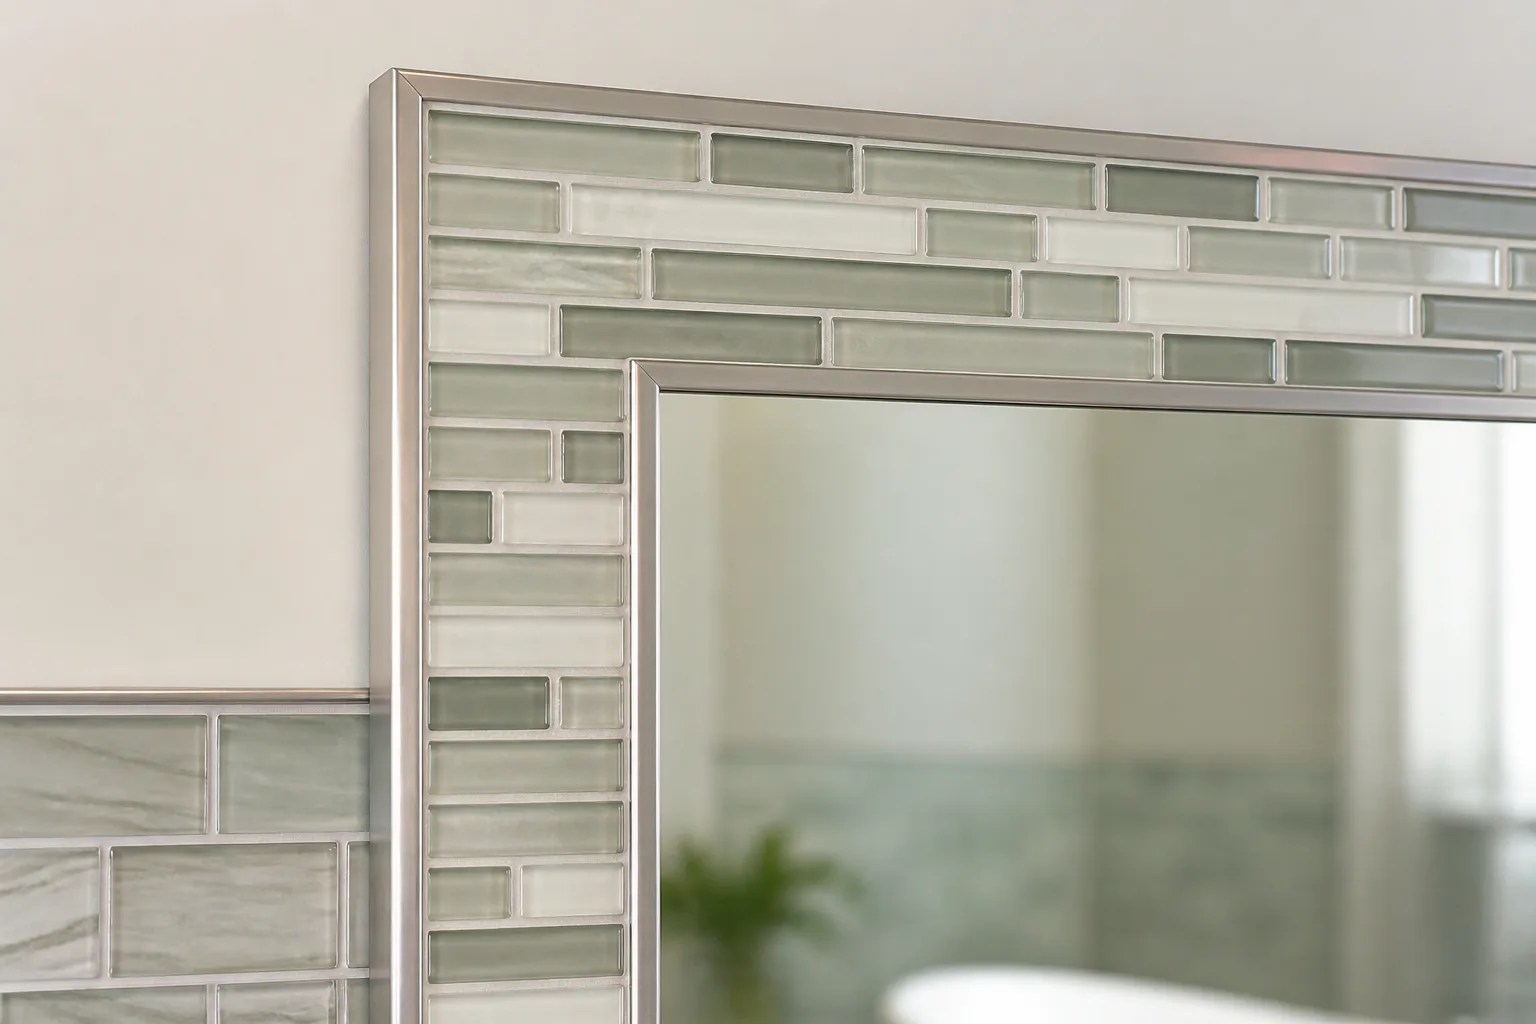
10. Tile border frame
Mosaic tile or pencil tile can create a durable, water-friendly mirror border. This idea ties the mirror into a backsplash, shower niche, or wall tile and can look very custom when colors repeat elsewhere in the room.
Plan the tile layout before setting anything. Even a narrow border needs clean corners, balanced cuts, and a trim piece or edge profile if the tile has unfinished sides.
11. Layered trim frame
Flat stock combined with cove molding or another small profile creates depth that a single trim board cannot. The layered look suits vanities with formal cabinetry and gives a more upscale result.
Keep the build proportional to the mirror size. Too many layers on a small mirror can look crowded, while a large double vanity often benefits from the extra dimension.

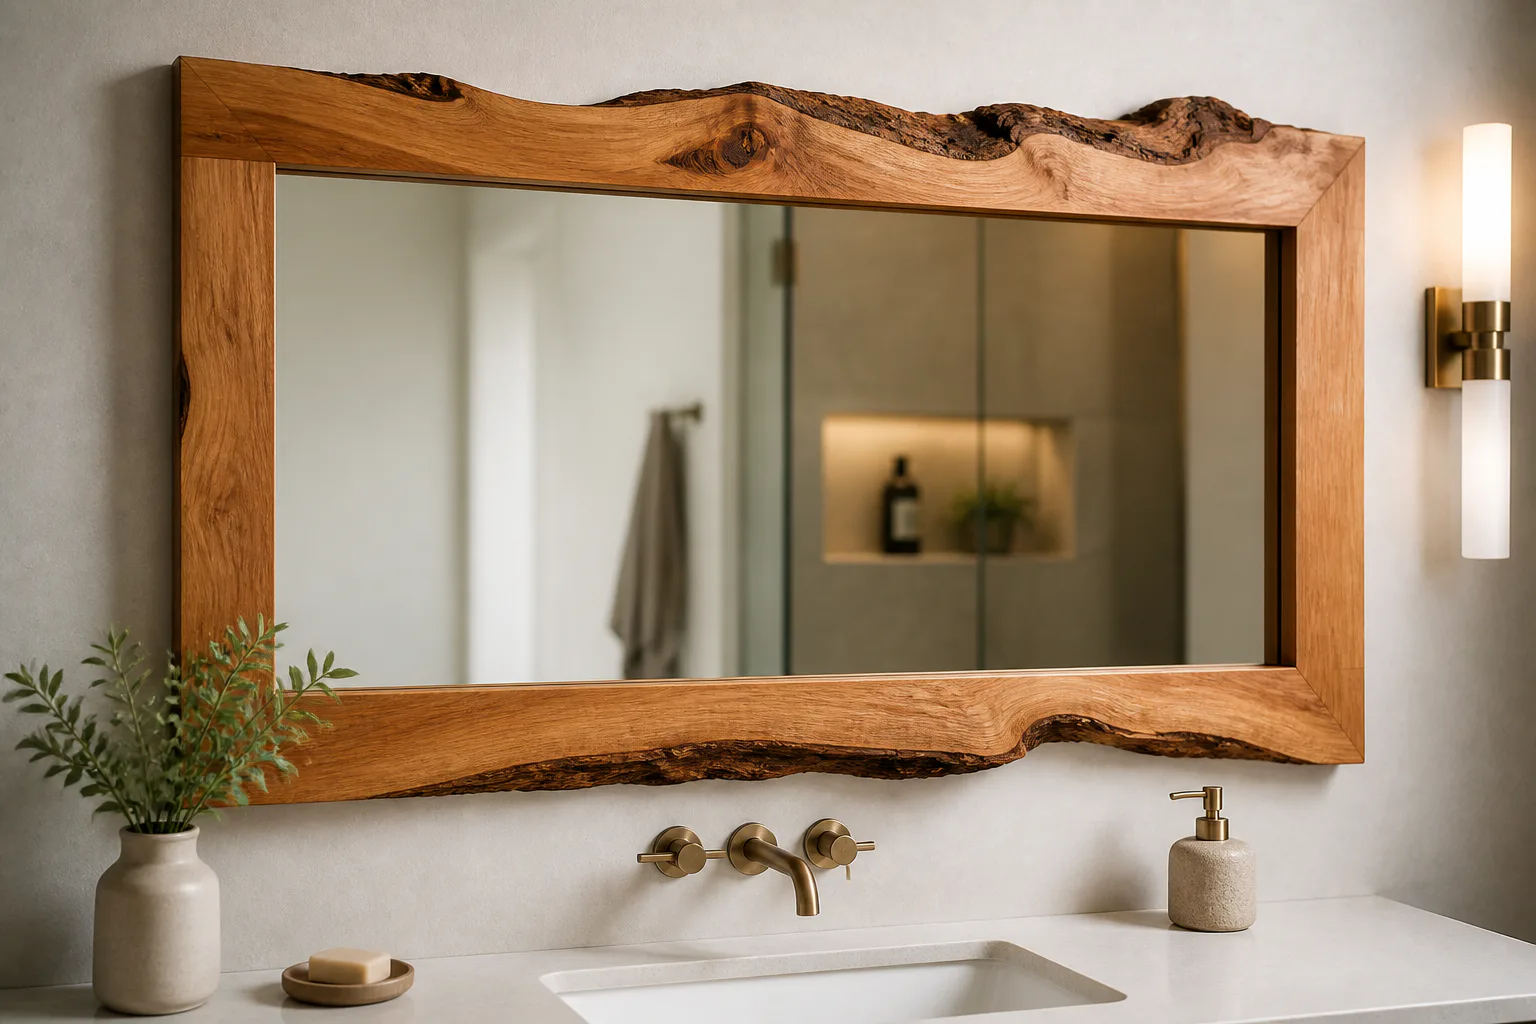
12. Live-edge wood frame
Live-edge boards turn the mirror into a focal point with a natural, spa-like feel. This style works best when the rest of the bathroom is restrained, so the organic shape has room to stand out.
Seal the wood carefully and keep the profile practical for cleaning. A dramatic edge can be beautiful, but deep grooves near sinks will need more upkeep than flat trim.
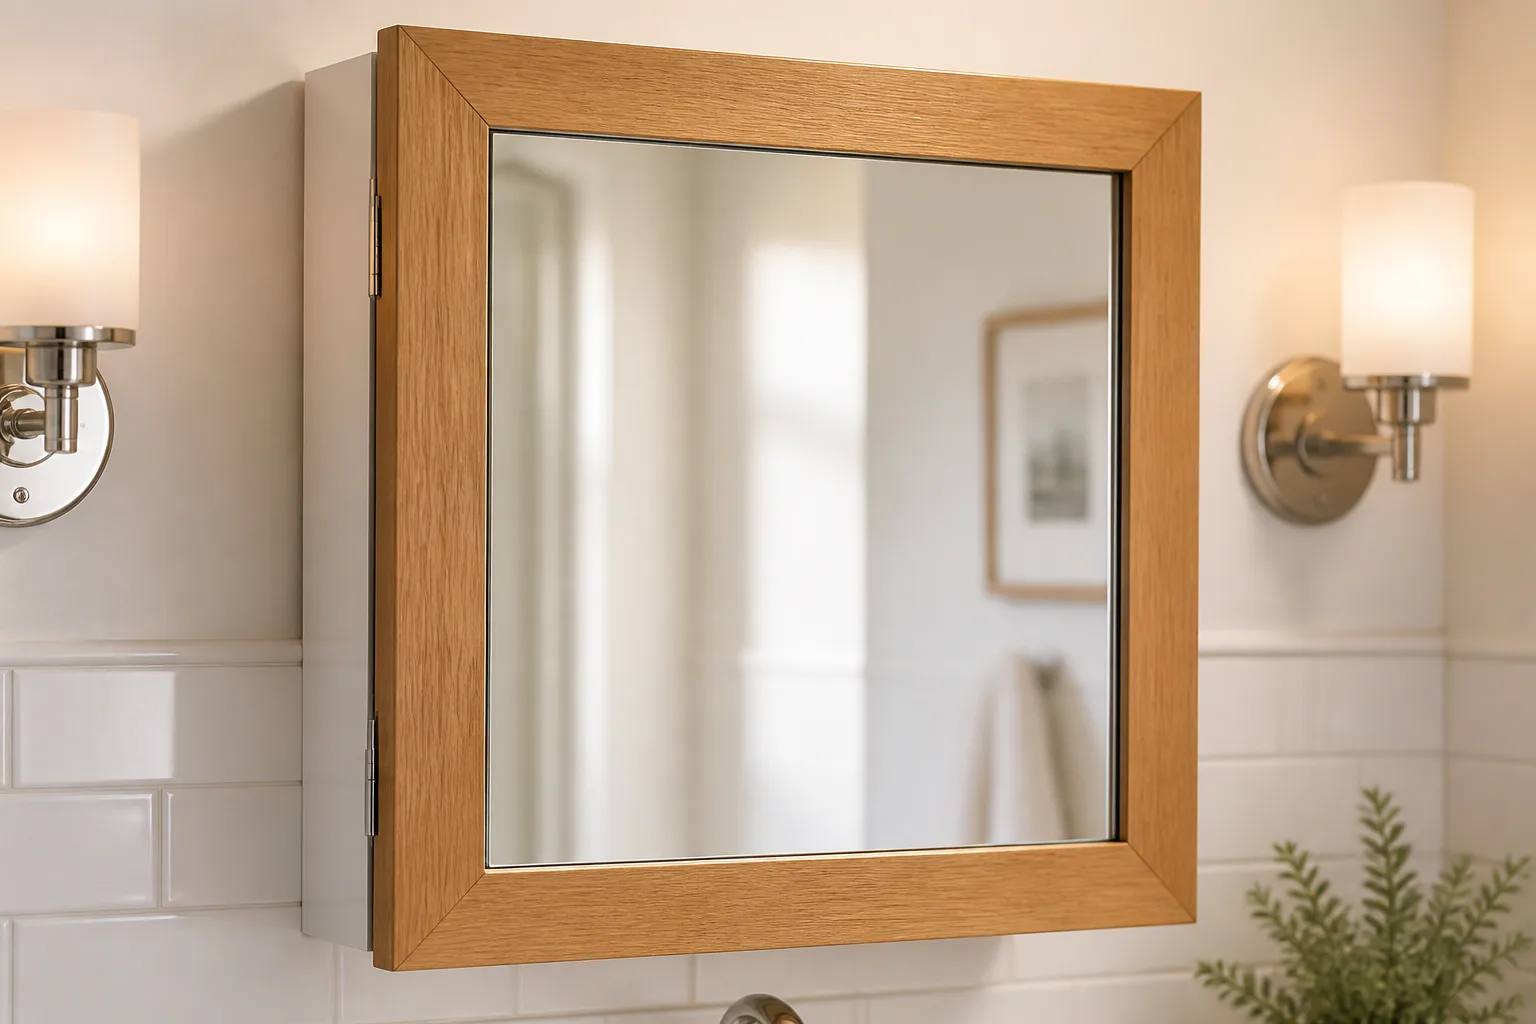
13. Medicine cabinet facelift
Wood trim can be attached to the front of a mirrored medicine cabinet to make it look less basic. This is one of the smartest upgrades if you want the appearance of a new mirror without losing hidden storage.
Check door swing, hinges, and wall clearance first. The added trim should not interfere with opening the cabinet or cause the door to rub against nearby sconces or tile.
Best materials for bathrooms
The right material matters as much as the design. Bathrooms expose frames to steam, splashes, and frequent wiping, so a good-looking frame also needs a durable finish.
Solid wood: Good for stained or painted frames if sealed on all sides.
Primed trim: Convenient for painted projects and often easy to finish smoothly.
MDF: Best only in lower-splash areas and when edges are sealed very well.
PVC trim: Useful where moisture resistance matters more than natural wood grain.
Tile: Durable and easy to clean once properly installed and grouted.
Tools and supplies
You do not need every tool for every idea. Most projects use a small set of basics, and simpler designs can be done with pre-cut trim from a home center.
Tape measure
Miter saw or miter box
Construction adhesive suitable for mirror-adjacent use
Caulk
Sandpaper
Primer and paint or wood stain
Clear sealer
Clamps or painter’s tape for holding pieces during curing
How to choose
Match the vanity
If the vanity is simple and modern, use a flat, clean-lined frame. If the vanity has decorative panels or turned legs, a molded or layered frame will look more intentional.
Check clearances
Mirrors near sconces, side walls, or faucets need slim trim. Thick frames look better when there is visible breathing room around the mirror.
Consider upkeep
Smooth painted trim is easiest to wipe down. Textured wood, rope, and deeply layered molding need more frequent dusting and more care around toothpaste and water spots.
Common mistakes
Using unsealed raw wood in a humid bathroom
Forgetting to account for mirror clips
Choosing trim that blocks cabinet doors or lights
Skipping dry-fit checks before gluing
Using a finish that has not fully cured before installation
Picking a frame width that looks too bulky for the mirror size
FAQ
Can you frame a mirror without removing it?
Yes. Many DIY bathroom mirror frames are built and attached directly around an existing wall mirror. This is common with builder-grade mirrors that are glued to drywall.
What wood is best for a bathroom mirror frame?
Stable, paint- or stain-grade wood that can be sealed well is a practical choice. Solid wood holds up better than unsealed fiberboard in humid rooms, especially near sinks.
Should the frame match the vanity?
It does not need to match exactly, but it should coordinate. Repeating the same tone, color, or style detail usually makes the room look more cohesive.
How wide should a mirror frame be?
The frame should fit the scale of the mirror and the space around it. Small bathrooms and tight clearances usually look better with narrow trim, while large mirrors can handle wider profiles.
Final pick
If you want the safest all-around option, choose a simple wood or primed trim frame with a sealed painted finish. It is easier to build, easier to clean, and flexible enough to suit modern, traditional, or cottage bathrooms.
Start by measuring clearances, then pick the thinnest frame style that still feels intentional in the room. A careful fit and a moisture-resistant finish will do more for the final result than a complicated design.